How to Repair a Crack in Drywall
Understanding Drywall Cracks
Drywall cracks are a common issue in many homes, often appearing as unsightly lines across walls and ceilings. These cracks can result from various causes, including settling of the structure, fluctuations in temperature and humidity, or even poor installation techniques. Understanding the underlying cause is crucial for effective repair, ensuring the problem does not reoccur.
There are several types of drywall cracks, each with its own implications. Hairline cracks are usually superficial, often resulting from minor shifts in the building. Conversely, wider and deeper cracks could indicate more significant structural issues, such as foundation settling or water damage. Identifying the type of crack is the first step in determining the appropriate repair method.
Some common causes of drywall cracks include:
- Structural settling
- Temperature and humidity changes
- Poor installation techniques
- Water damage
By understanding these causes, homeowners can take preventative measures to minimize the occurrence of drywall cracks and address them promptly when they do appear.
Tools and Materials Required
Repairing a drywall crack requires a few essential tools and materials. Having the right equipment on hand can make the process smoother and more efficient. Here is a list of the basic items you will need:
- Utility knife
- Sandpaper or sanding block
- Drywall tape
- Joint compound
- Putty knife
- Paintbrush or roller
- Primer and paint (to match existing wall color)
Each tool plays a crucial role in the repair process. For instance, a utility knife is used to clean out the crack, ensuring a smooth surface for the joint compound. Sandpaper or a sanding block helps in smoothing the area once the joint compound is applied and dried. Drywall tape is essential for reinforcing the joint compound, preventing future cracking.
Investing in quality materials can make a significant difference in the durability of the repair. High-quality joint compound and drywall tape are less likely to shrink or crack over time, providing a long-lasting solution.
Step-by-Step Repair Process
The process of repairing a drywall crack involves several steps, each contributing to a seamless and durable finish. Here’s a detailed guide to help you through the process:
Step 1: Clean the Crack
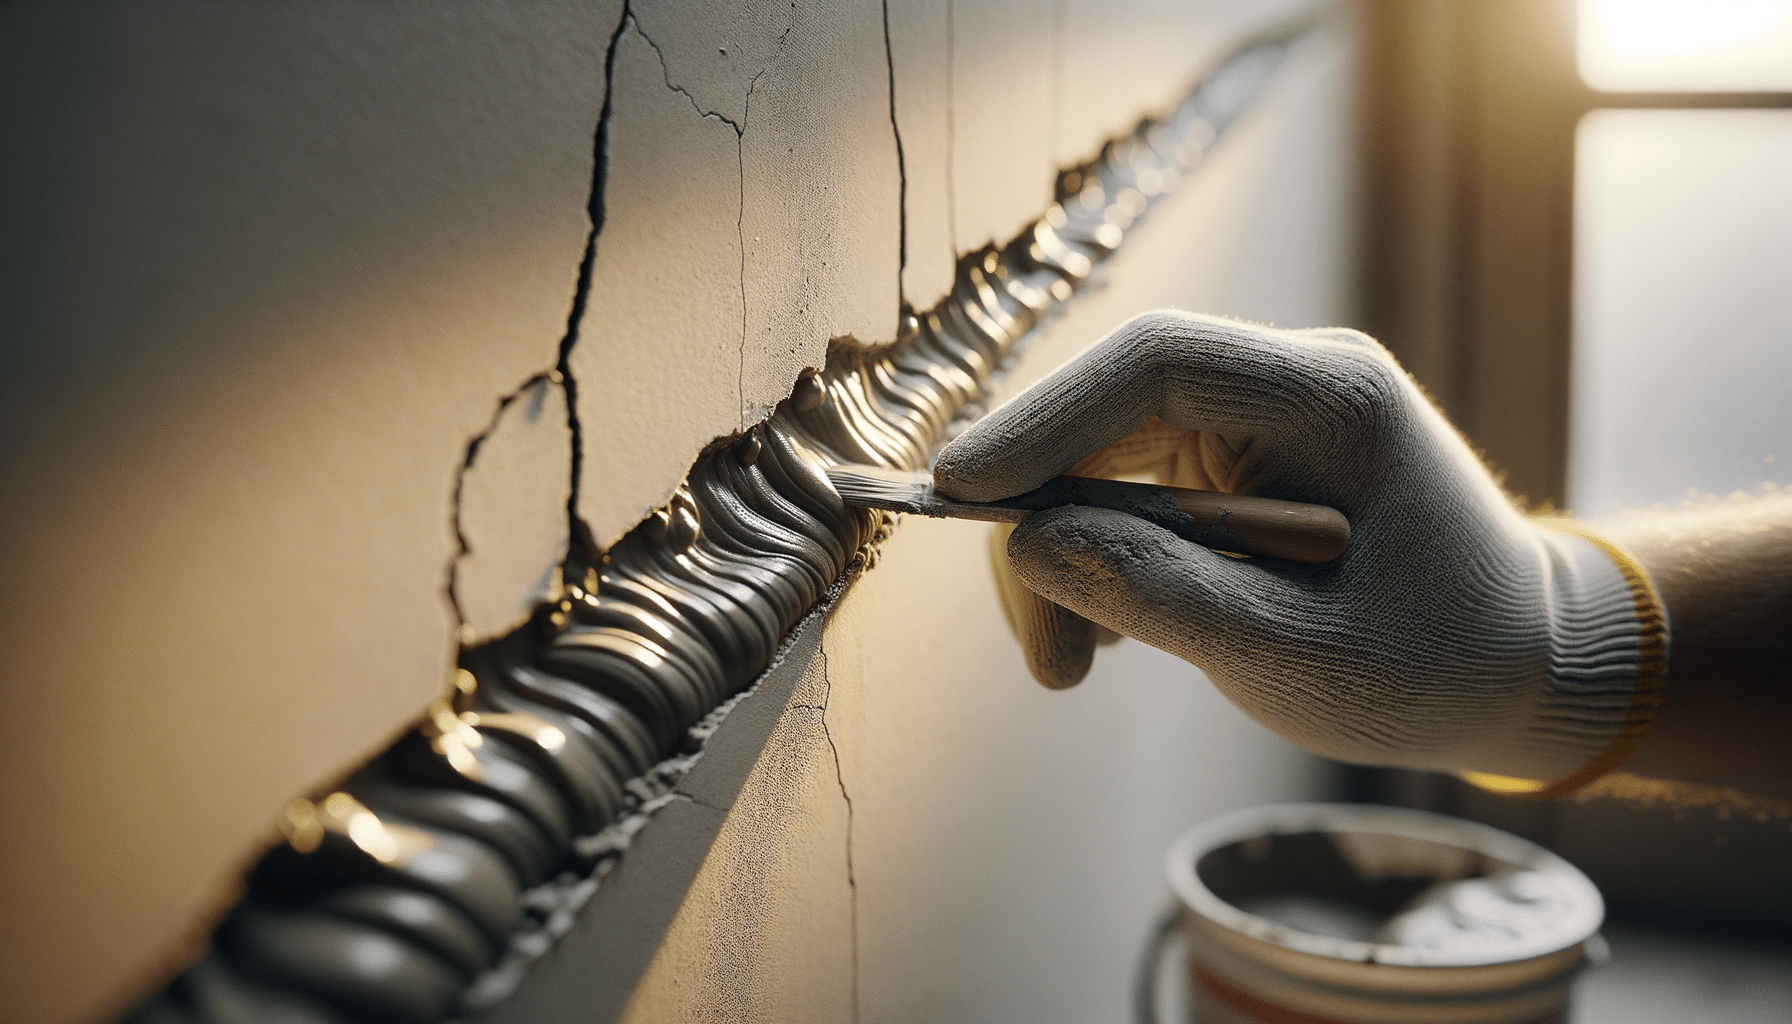
Use a utility knife to widen the crack slightly, removing any loose material or debris. This step ensures that the joint compound adheres properly.
Step 2: Apply Drywall Tape
Cut a piece of drywall tape to the length of the crack. Press it firmly over the crack, ensuring it lies flat against the wall.
Step 3: Apply Joint Compound
Using a putty knife, apply a thin layer of joint compound over the tape. Smooth it out, extending the compound a few inches beyond the edges of the tape. Allow it to dry completely.
Step 4: Sand the Surface
Once the joint compound is dry, use sandpaper or a sanding block to smooth the surface. This step is crucial for achieving a seamless finish.
Step 5: Prime and Paint
Apply a coat of primer over the repaired area before painting. This step helps the paint adhere better and ensures a uniform finish. Once the primer is dry, apply paint to match the existing wall color.
Following these steps carefully will result in a repaired drywall crack that is virtually invisible and less likely to reappear.
Preventing Future Drywall Cracks
Preventing drywall cracks involves addressing the underlying causes and taking proactive measures to maintain the integrity of your walls. Here are some strategies to help minimize the risk of future cracks:
Maintain Consistent Temperature and Humidity
Fluctuations in temperature and humidity can cause drywall to expand and contract, leading to cracks. Using a dehumidifier and maintaining a consistent indoor climate can help mitigate this issue.
Address Structural Issues
If your home is prone to settling, it might be worth consulting a structural engineer to assess and address any foundational concerns. This proactive approach can prevent cracks caused by structural movement.
Ensure Proper Installation
When installing new drywall, ensure that it is done correctly by hiring experienced professionals. Proper installation techniques can significantly reduce the likelihood of future cracks.
By taking these preventative measures, homeowners can enjoy smooth, crack-free walls for years to come.
Conclusion: Achieving a Seamless Finish
Repairing drywall cracks is a manageable task that, when done correctly, can restore the aesthetic appeal of your walls. By understanding the causes of drywall cracks and following a systematic repair process, you can achieve a seamless finish that blends perfectly with the surrounding wall.
Investing time in selecting quality materials and tools, along with taking preventative measures, can significantly reduce the occurrence of future cracks. Whether you’re a seasoned DIY enthusiast or a homeowner tackling this repair for the first time, these guidelines provide a comprehensive roadmap to success.
In summary, addressing drywall cracks promptly and effectively not only enhances the appearance of your home but also contributes to its structural integrity, ensuring a safe and beautiful living environment.


